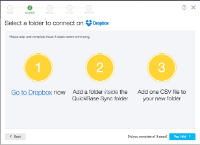
Create a folder at the top level of your MIT Dropbox, which must be named: QuickBase Sync
Create a folder inside QuickBase Sync with the name of the Quick Base table that will be receiving the sync’ed data, for example “People data for Quick Base Usage app”
Put a .csv file with data you want to sync up to Quick Base inside of the folder, for example, inside of “People data for Quick Base Usage app”.
Set up Dropbox Sync in Quick Base.
Set up Dropbox Folder
Create a folder in Dropbox called QuickBase Sync.
Note: Name must be exactly QuickBase Sync
Inside this folder, create a folder with a name specific to the data you wish to import. Note that once you pick this folder name, you cannot change it later (unless you delete all the data in your Quickbase table and start over).
Place your CSV file into this new folder. The name of the CSV file does not matter, because you can only place one file into one folder at a time.
Create Quickbase Table and Configure Quickbase Sync
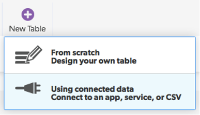
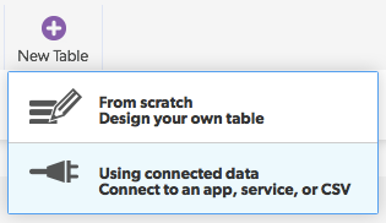
Create a new table in Quickbase and choose the “Using connected data” option.
Name your table and records and choose an icon, then hit Next.
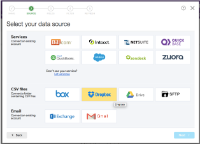
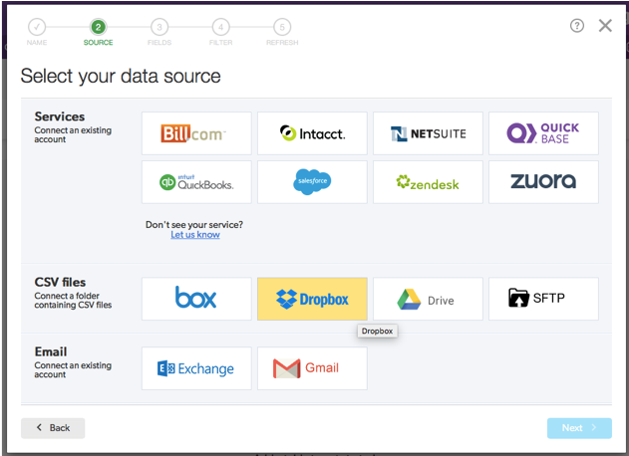
On the Select your data source screen, in the section for CSV files, choose Dropbox
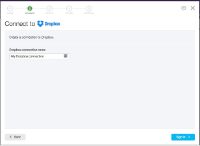
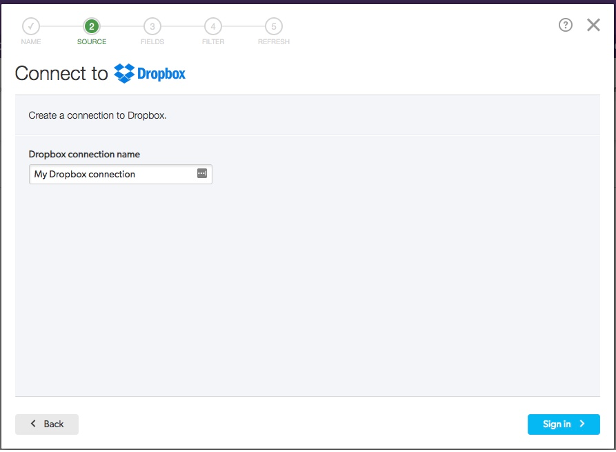
Dropbox Connection:
If you do not yet have a Dropbox connection, you will be prompted to create one.
Click Sign In.
If you have already established a Dropbox connection, it will say, “You already have a connection,” and Dropbox will already be highlighted.
Click Next.
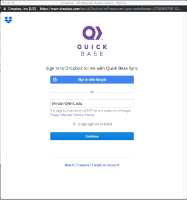
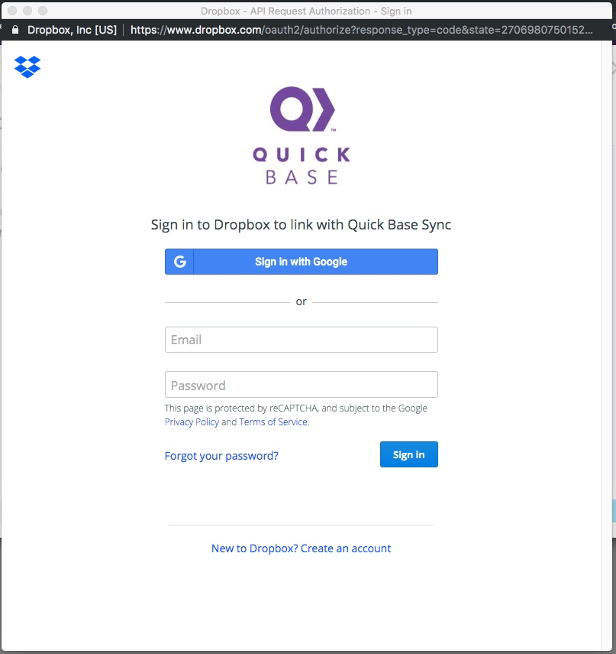
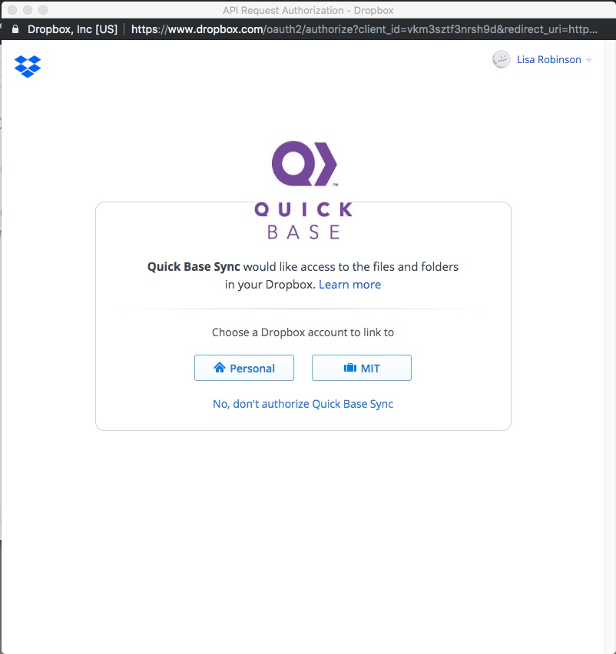
If this is a new Dropbox Connection, you will be prompted to sign in.
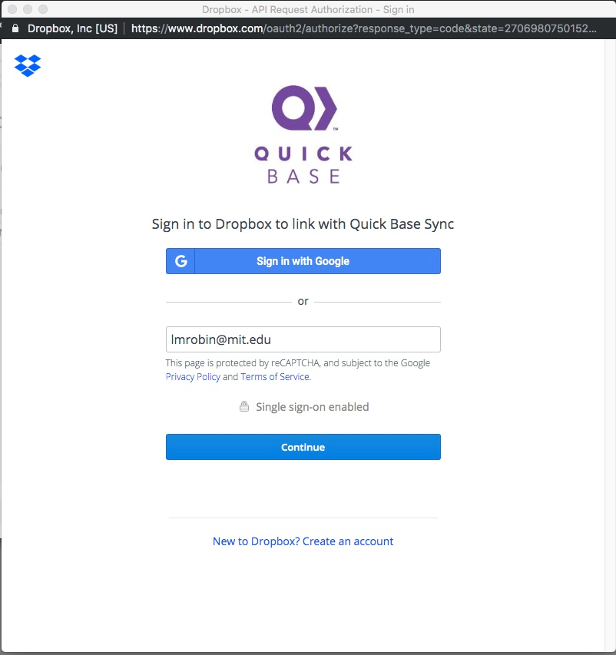
Type your @mit.edu email address and click Sign in.
Click Continue
If you have both a Personal and an MIT Dropbox account, choose MIT
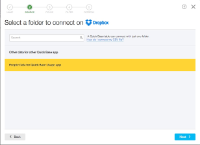
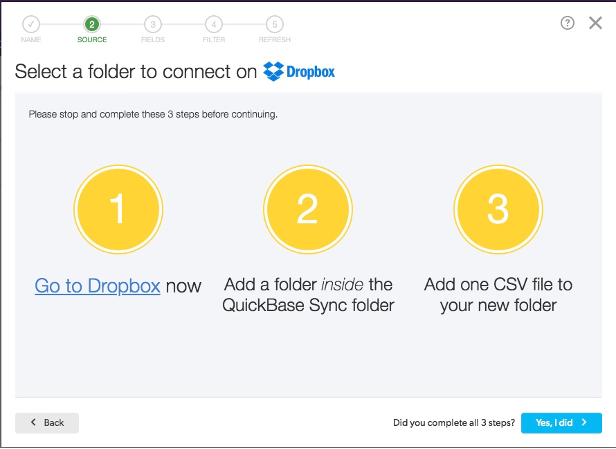
If Quick Base doesn’t recognize which file to use, you will be prompted to create the following folder structure:
Dropbox (MIT)/QuickBase Sync/[folder name that corresponds to your Quick Base table]/data-file.csv
If needed, create the folder structure, then click Yes, I did.
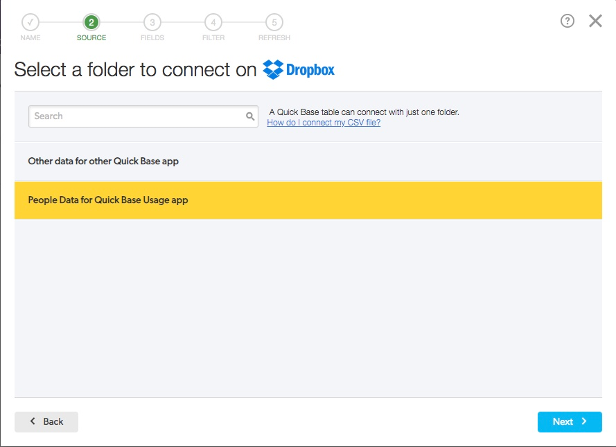
If you have more than one folder inside Dropbox (MIT)/QuickBase Sync, you will be prompted to choose one.
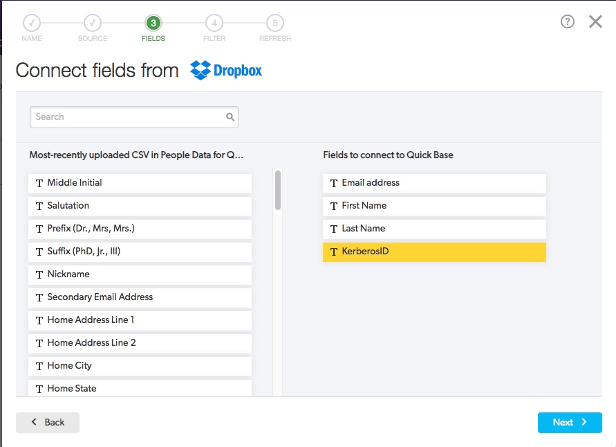
Quickbase will look at the column headings for your CSV file and prompt you to select which columns you wish to import as fields in the sync’ed table.
Select the fields to connect to Quickbase and then click Next.
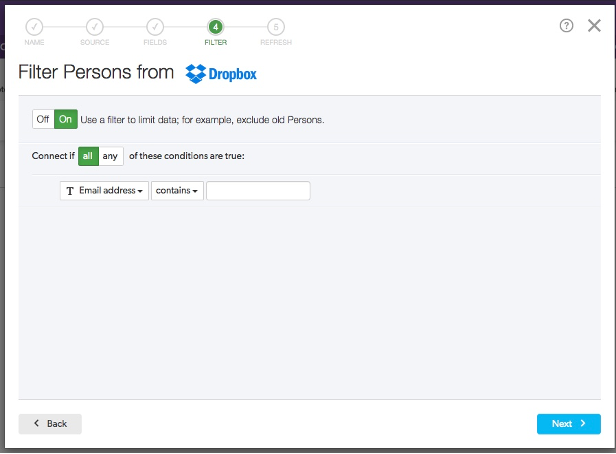
If desired, you can turn on the filter, and choose to import only the records that meet your specified criteria.
Set up any desired filters, then click Next.
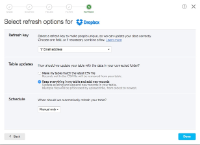
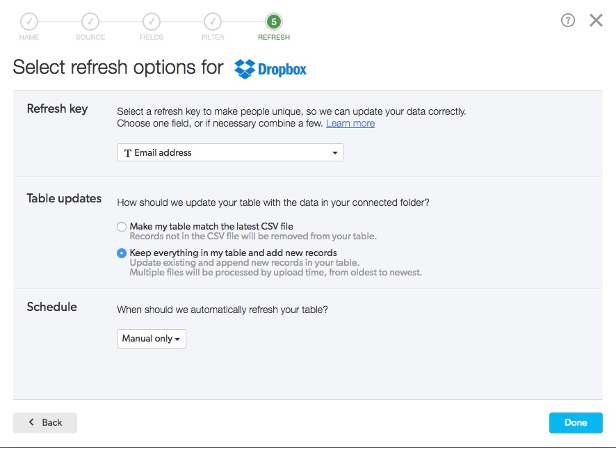
Synchronization settings
For Quickbase tables created from scratch, the default key field is the Record ID. Remember that the key field must be unique. If none of the fields you are uploading contain a unique field, you can create your own key in Cognos.
You can choose to have Quickbase match the CSV file, where any records that are deleted are also deleted in Quickbase, or you can set it so that records which fall of your Cognos report must be manually deleted in Quickbase.
Choose a scheduled or manual sync.
IS&T Contributions
Documentation and information provided by IS&T staff members →