
Using Cybersource to Accept Payments on Your Site
[Return to Drupal Cloud Home Page]
On this page:
Introduction
The Cybersource module allows MIT staff or students who have registered with Merchant Services to accept credit card payments using a Drupal Cloud webform to submit data to the Cybersource credit card processing service.
The module maps Drupal field names to corresponding Cybersource fields, submits the mapped form data to Cybersource, and saves the response into your webform results. In compliance with MIT policy, credit card information is handled by Cybersource and is not stored within your Drupal Cloud website.
To use this feature, you must first obtain a Cybersource Merchant ID from Merchant Services. If you do not currently have a merchant ID, apply for a new merchant ID through the Merchant Services site.
You will need to complete the following steps.
- Enable the Cybersource module
- Create the webform on your Drupal Cloud site
- Add fields to your webform
- Enable Cybersource interaction
- Test your Cybersource webform
Enabling the Cybersource Module and Clearing Your Cache
- Log in to your site.
- From the Administrator menu, click Modules.
- Scroll to the Merchant Services section and find the Cybersource module.
- Check the box in the Enabled column.
- Scroll to the bottom and click the Save configuration button. After a moment you will # see a green confirmation message at the top.
- Click Configuration from the Administrator menu.
- In the Development section, click Performance.
- Click the Clear all caches button. You will see a green confirmation message at the top.
Creating the Drupal Cloud Webform
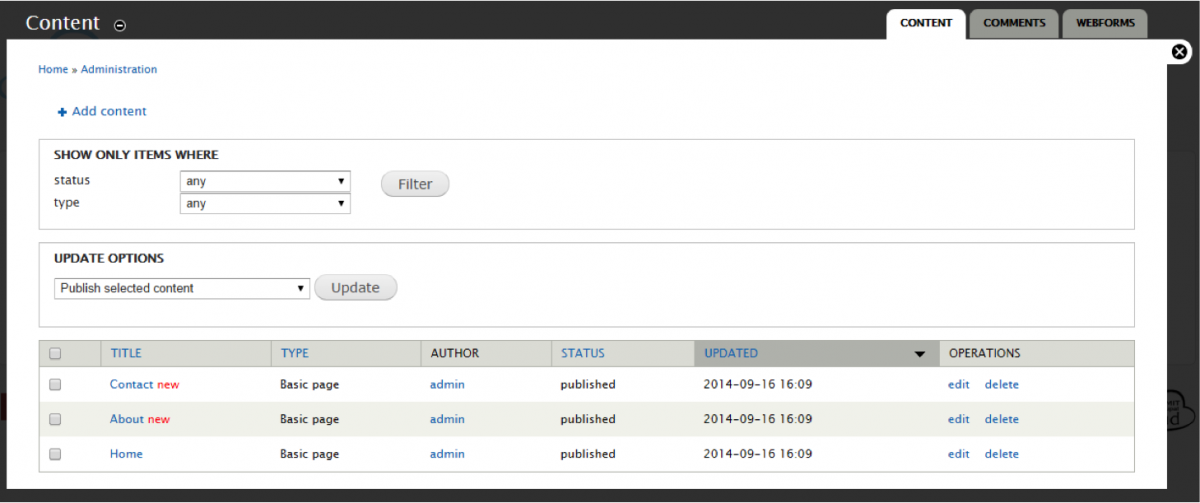
- From the Administrator menu, click Content.
- Click Add Content, then Webform. Note: If you have an existing form you would like to use skip to “Webform Settings”

 Click the thumbnail to view full size image.
 - Enter a Title for your webform, then click Save at the bottom right. The Webform screen will open showing the Form components.
Click the thumbnail to view full size image.
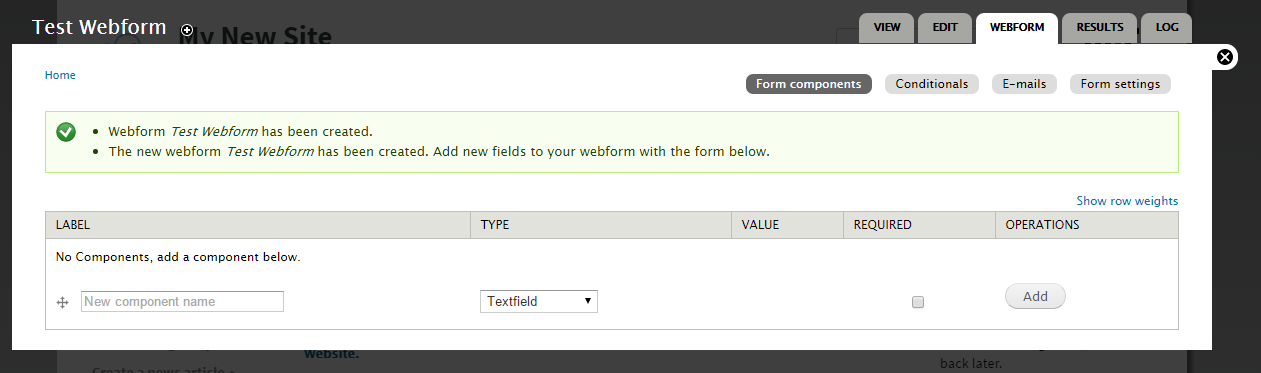
Adding Fields (components)
8 You may add any components to your web form. The only required component is a field to indicate the amount of the purchase. Other common fields include fields for billing and shipping information as well as special merchant defined data fields.
8 You can use your own naming conventions for your webform components. In the webform settings you will decide how your Webform fields are mapped to Cybersource fields. You could actually name your fields to match the Cybersource fields. A list is provided later.
8 The following field names are reserved for use by the Cybersource module: requestID, paymentOption, card_accountNumber, reasonCode, and decision.
A sample of common webform components for a Cybersource form is displayed below: